Wednesday, December 5, 2018

Looking Forward in the Library


My aspiration to become a school librarian began as soon as I entered the education program at Clemson.  I always knew I wanted to become a librarian, but I knew in order to be a really good school librarian, I first needed to be in the classroom to learn the curriculum and how to be a teacher.  I knew that if I did that first, future teachers that I would work with would respect me so much more because I would have been in their shoes.  Fast forward 13 years later, and I am finally here!  I loved being a classroom teacher, but I look forward to getting up every morning and making my 45-minute drive to my little library in a small town school.  Being in a library is everything that I ever hoped or dreamed it would be.  I truly LOVE my job!

But where do I go from here?  I'm in the job that I love, but how do I make it even better for myself, the students, and teachers of my school (or where ever I end up)?  How do I stay current with changing times for libraries as well as the ever-changing ideas and mindsets of education?  What do I do to the best that I can possibly be?
Image result for green screen in school

One idea from this course that really hit home with me was how I could use a green screen to broadcast a news program at my school.  Currently, we do not really have a morning news show.  It's just me over the intercom reading the announcements for the day.  The school used to have a news show, but a few years ago, the school was struck by lightning, and the system used was damaged and has not, and probably will not, be replaced by the district.  Since coming to the school, I have been trying to figure out a way to bring a live, broadcasted program back to the school.  I want to research the use of a green screen more to see if I can video it live, such as through Facebook Live or Youtube.  I really want to make it live because in a school, even a small school, announcements can change making prerecorded news shows hard.  I would really like to utilize a green screen much how TV news shows use them for the weather without breaking the budget.

In addition, I have enjoyed learning about the numerous applications and platforms for digital curation.  I can see these tools being so useful to not only myself but students and teachers.  I can use digital curation to search lists that others have compiled to better my library program, but I can also create lists for teachers and students containing resources which they need.  I love the fact that I can create a digital curation list and add to it or modify it for class projects.  I have already started this process for some resources which I have shared with my teachers.  To me, these lists are better than simply telling someone to "bookmark it" because you can add in descriptions on what the resource contains or how it is applicable.  To me, bookmarking is outdated, and resources can become lost (unless you are like me and have a very specific bookmarking system).


Above all, I have learned the importance of staying abreast in technology advancements and how the advancements can be applied to a school library program.  This is probably what I enjoy the most about being a school librarian because I LOVE learning about and playing with new technology.  That's probably why I have been chosen as one of the district's technology integration specialists.  Technology changes daily and the students in schools now have grown up with it.  So, that's how you reach them.  It will be especially important for me to stay up to date with advancements so that I can share with my teachers so that they can use new resources in their classrooms.

Image result for becoming a librarian

Saturday, November 17, 2018

Google Expeditions


Google Expeditions

Virtual and augmented reality are changing up the classroom.  Now students are able to see things virtually that they wouldn't have been able to see without these technological advancements.  Many school districts have gone Google, and now Google has their own platform for virtual and augmented reality.

Image result for google expeditions
Using Google Expeditions teachers are able to expand the walls of the classroom giving students access to 360° scenes and 3D objects.  This helps teachers make learning fun and meaningful for students. 


In order to bring Google Expeditions to your classroom, you will need mobile phones or tablets with the Expeditions app.  Google offers 3 different options for creating your Google Expeditions kit.  

Option 1: Buy a Kit
Kits can be purchased through numerous suppliers.  Best Buy Education offers 3 different options ranging from $5,000 to $10,000. 

Option 2: Build your own kit
You will need to following to build your own kit.
  • Tablet (for the teacher)
  • Mobile devices (for students)
  • VR viewers such as Google Cardboard
  • Expeditions App downloaded to each device 
Option 3: Try it for yourself
Want to try it before you buy it?  Test out Google Expeditions for yourself.  You will need the following:
  • An Android, Chrome OS, or iOS mobile device
  • The Expeditions app
  • [Optional] A Cardboard or Daydream VR viewer.


View the following videos for a short tutorial on how to use Google Expeditions.


Google Expeditions allows teachers to expose their students to tons of historical landmarks,  locations around the world, and many other options.  There are over 900 VR tours and over 100 AR tours!  Imagine your students' reactions when they are able to virtually walk through the solar system!  
Image result for google expeditions


Sunday, November 4, 2018

Makerspaces on a Budget

Makerspaces are becoming the new staple in libraries. However, I’m not going to lie, they
terrify me because of the small budget which I have to work with because my school is so very
small. I have about $150, yearly, that I can spend on library supplies, and the remainder of my
budget is strictly dedicated to purchasing books. So, finding a way to create a makerspace area
in my library, with my limited funds, led me to search for a blog relating to makerspace creation,
on a budget.

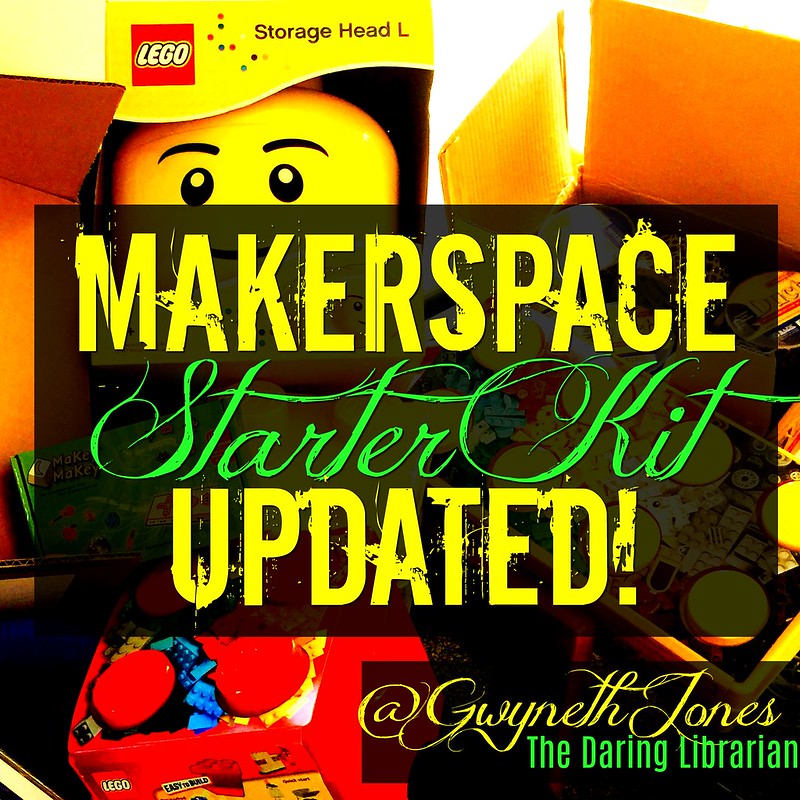
In my search, I stumbled across a blog by Gwyneth Jones, “The Daring Librarian,” titled
Makerspace Starter Kit. In her blog, she outlines a basic starter kit, which can all be purchased
on Amazon, for about $350! The kit would contain everything needed to create a Duct Tape
craft, LEGO creation, and Makey Makey Coding stations. Everything in her starter kit, I was
familiar with except Makey Makey. After doing some further research on Makey Makey, I was
amazed. Just the idea of creating your own “keys” to match something that you are doing on a
computer is nothing short of AMAZING! I really think the kids at my school would enjoy Makey
Makey, especially since they all have their own Chromebooks.
The information shared by “The Daring Librarian” is useful for any school library program
working with a small budget.  Her kit allows kids to really become makers. 

“Makers are problem solvers, idea dreamers; they tinker, hack, and customize products and
materials to better serve them. Makers live out lifelong learning. They see a problem, something
that isn't working for them, and they research ways to solve the problem and experiment,
pushing the limits until they are satisfied.” (CANINO-FLUIT, 2014)

With this starter kit, kids can tinker with LEGOS, customize with Duct Tape, and problem solve
with Makey Makey.  And because there “is no set list of equipment or programming required to
make a space successful,” this kit allows the user to make it into what fits their library program
needs without breaking the bank. ("The Makings of Maker Spaces, Part 1: Space for Creation,
Not Just Consumption")    

I really felt like this would be a useful resource for others who are feeling apprehensive about
incorporating a makerspace into their library program, especially for those who are limited on
funds.  This kit is a great starter for any library because there is a little something for different
types of makers, and because of its simplicity, you can find out if having a makerspace in your
library is worth the investment.  As Dr. Moorefield-Lang stated, Makerspaces are not for every
library, you have to test it out to see if it is something that your patrons will use. This kit allows
you to test the idea out, without breaking the bank. 

References

CANINO-FLUIT, A. anacaninofluit@gmail. co. (2014). School Library Makerspaces. Teacher Librarian, 41(5), 21–27. Retrieved from https://login.pallas2.tcl.sc.edu/login?url=http://search.ebscohost.com/login.aspx?direct=true&db=llf&AN=96678450&site=ehost-live 

Jones, G. (2018, August 28). The Daring Librarian. Retrieved from https://www.thedaringlibrarian.com/2015/06/makerspace-starter-kit.html 

The Makings of Maker Spaces, Part 1: Space for Creation, Not Just Consumption. Retrieved from http://www.thedigitalshift.com/2012/10/public-services/the-makings-of-maker-spaces-part-1-space-for-creation-not-just-consumption/ 

Sunday, October 21, 2018

Cyberbullying: The Surprising Facts

Cyberbullying: The Surprising Facts


Chantal Faucher, Wanda Cassidy, and Margaret Jackson define bullying as the “repeated aggressive behaviors that are intended to cause harm to a victim with relatively less power to defend themselves.”  However, cyberbullying is not always initiated by what we think of as the typical bully.  The reality of cyberbullying is that it can be initiated by anyone, at any time, through multiple platforms.  This idea is what I found very interesting about cyberbullying because cyberbullying, quite frankly, can happen to and by anyone. 

I believe that it really is easier for kids to be cyberbullies than a "traditional" bully.  It is easier to say things behind the comfort of a computer screen and keyboard.  I see this daily on social media platforms, such as Facebook, where people make rude comments or remarks to total strangers.  Adults are guilty of being cyberbullies just as much as children. 

In the video below, Emma shares her story of how she was a victim of cyberbullying by her best friend.   

Emma's Story: Cyberbullied by a Best Friend

Cyberbullying is a huge concern of mine as my district moves to eLearning because every student will have access to technology at home.  While this is a wonderful initiative which will level learning gaps across the district, it also opens up a whole new world of potential for cyberbullying.  Even though I am in an elementary building, that does not mean that I will not have students who face cyberbullying.  Before devices begin going home with students nightly, my plan is to teach a series of digital citizenship lessons in the library, especially with the students in grades 3 - 5 because that is the age group where I anticipate the most potential for problems to arise.

NetSafe: Cyberbullying

Common Sense Education provides a wealth of resources on digital citizenship, including cyberbullying, and you can locate lesson ideas by grade level.

Other Resources on Digital Citizenship and Cyberbullying

Friday, October 12, 2018

Make Learning Fun with Kahoot!


Let’s face it, reviewing for a big test can get boring, especially when you are just discussing important points.  Why not make your review more fun by using Kahoot?  Best of all, Kahoot it totally free!

Getting Started 

To access Kahoot, you will need to visit https://kahoot.com and create your free account.  For more directions on creating your account, visit the help page.  Once you have created an account, you can either browse Kahoots which have already been created or you can create your own.  Creating a new Kahoot is the best way to tailor the material to suit your classroom needs.  Directions for creating your own Kahoot can also be found in the help page

Starting the Fun 

Once you have created or found a Kahoot, let the game begin.  Students will log in using a specific game pin, which is auto-generated, and depending on how you set up gameplay, they can either type in their name or select a username.  Once everyone is in, questioning will begin.  What makes a Kahoot fun to the students is that they are playing against each other, and they score points, not only by getting the correct answers but also by who responds the quickest.  This makes reviewing for a big test or exit tickets from a lesson much more fun.


Kahoots for Homework

Kahoot also recently launched its newest platform where students can play at home for their homework.  Students can access the Kahoot via a mobile app, and their responses are collected for the teacher just as in normal gameplay.


Here are some suggestions of when to use Kahoot in your classroom:

  • Reviewing for a test
  • Exit Slips
  • Homework assignments 
  • Brain Breaks
  • Indoor Recess
  • Fact Reviews (Multiplication Tables)

The possibilities are endless!

Other helpful resources for Kahoot:


Sunday, October 7, 2018

Adaptive Tool for the Flipped Classroom

Adaptive Tool for the Flipped Classroom 

When I was completing my undergraduate studies at Clemson University, I was able to take American Sign Language as my foreign language.  As a result, I became very active in the ASL Club where I was able to participate in numerous events within the Clemson / Anderson Deaf Community, and I was able to learn so much about the community and their culture.
After watching and reading this week’s material, it really had me reflecting back on my experiences as an undergrad and how the deaf community can and will be impacted by the flipped classroom movement.  I started about, what tool could I share with the teachers in my school which could be used as an adaptive technology to meet the needs of potential students who are members of the deaf community. Personally, as a teacher, I have never even considered this as an obstacle unless I had a deaf student in my classroom room, presently, but there are is always a chance of class roster changes throughout the year.  Also, if I had an exceptional lesson which I had flipped, I would want the ability to use it from year to year, so accommodations should be considered in the beginning and not just because you have a new student come in.
With all of this in mind, Screencast-o-matic was the resource that first came to mind.  Screencast-o-matic can be found at https://screencast-o-matic.com/.  Screencast-o-matic has free and paid versions, both of which you can utilize to add closed captioning to anything which you record.  I know that most of the time, teachers are going to want a tool to use which is free, but personally, I think the Solo Deluxe plan is well worth the $1.50/per month that you spend. The see a full comparison of the free versus paid versions please visit https://screencast-o-matic.com/plans.  

With Solo Deluxe, you can edit video, script your video, as well as utilize other resources built into their platform. The biggest perk with the paid version is that you can easily edit the closed captions if the auto recognition does not get the wording correct.  This is especially useful if you are using the video as a flipped lesson. All videos can also be uploaded to a teacher’s Google Drive, which would make sharing lessons through a Google Classroom much easier without the worry of a district monitoring program blocking a YouTube video which you created.

Saturday, September 29, 2018

Chromebooks in the Classroom

Chromebooks: A Versatile Classroom Tool

Chromebooks are one of the most versatile and relatively inexpensive pieces of technology available to school today.  Not only do they allow the internet to be easily accessible, students are able to utilize numerous web 2.0 tools, as well as basic word processing functions.  There really are a wealth of resources available to teachers and students through Chromebooks. As a classroom teacher, I was fortunate to have them, 1-to-1, for 7 out of the 8 years which I was in the classroom.  They allowed me to test the boundaries of eLearning and provide my students with opportunities which may otherwise have been impossible.


The R.A.T. Model is a wonderful resource to use when implementing technology like Chromebooks into the classroom because it takes the user through different stages of how the technology can be used.  The model allows teachers at different levels of comfort with technology to find something useful to them and their students. The graphic below shows some basic applications of a Chromebook through the different level of the R.A.T. method, but a teacher would not be limited by the graphic because pretty much anything you use on the internet you can use on a Chromebook, and that does not even include all of Google’s Apps for Education.

Helpful Links on Chromebooks